Covered in this video
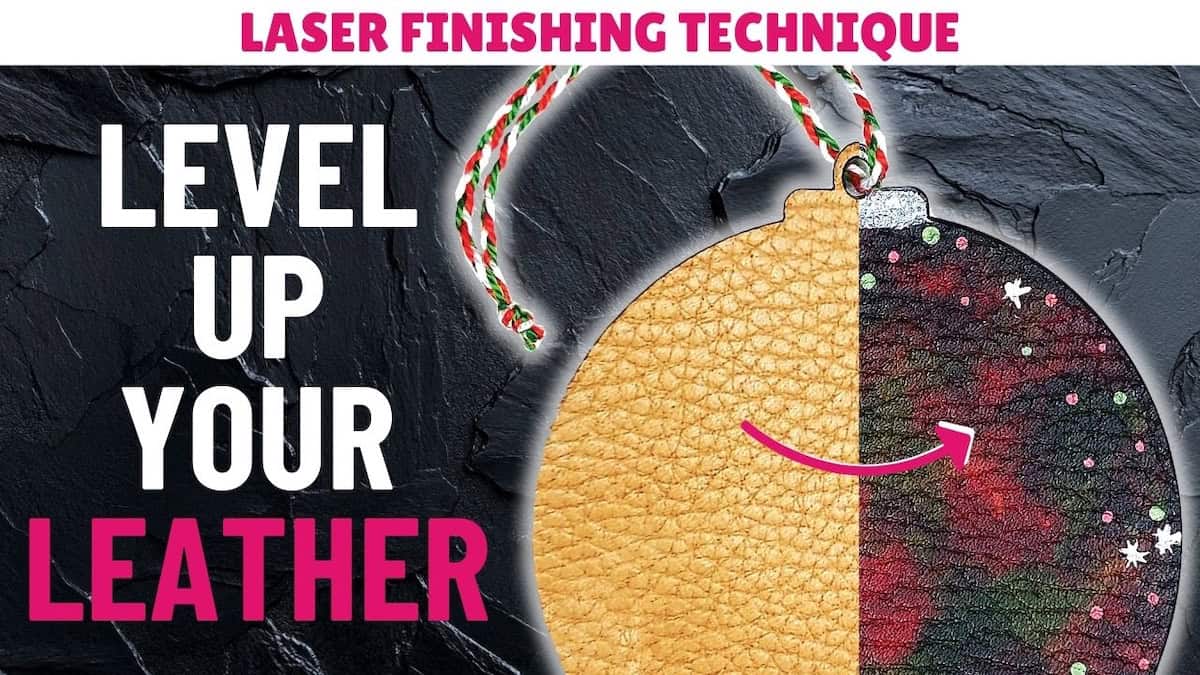
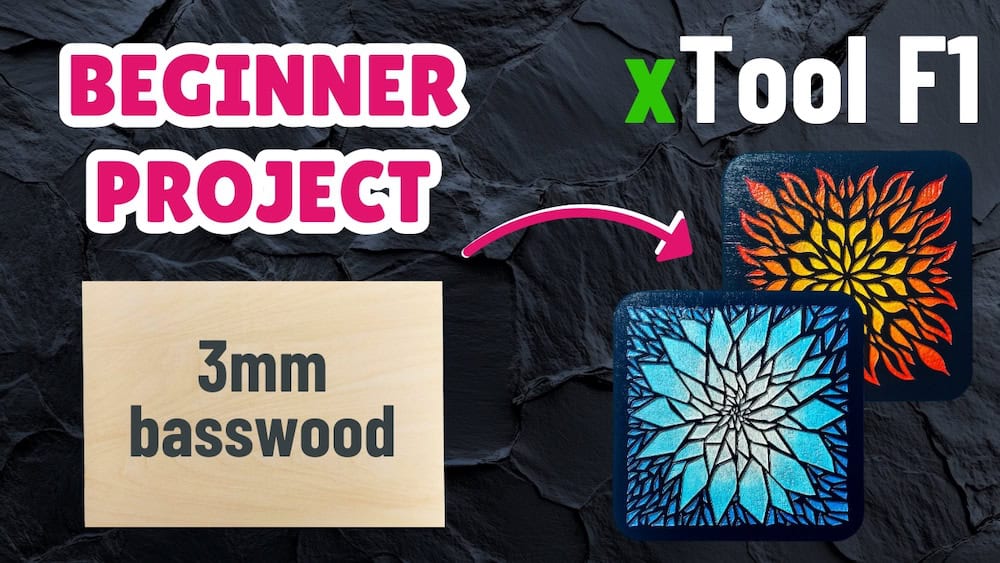
In this laser finishing technique video, I walk you through how to paint fill engraved wood to add colour to your engrave projects. I break down the exact method I used, including a quicker option for businesses that may want to paint fill at scale. You’ll learn how to:
- Prepare and seal engraved wood for paint fill to prevent bleeding
- Paint fill engravings using two different methods
- Choose the right approach based on time, scale, and results
Files used in this video
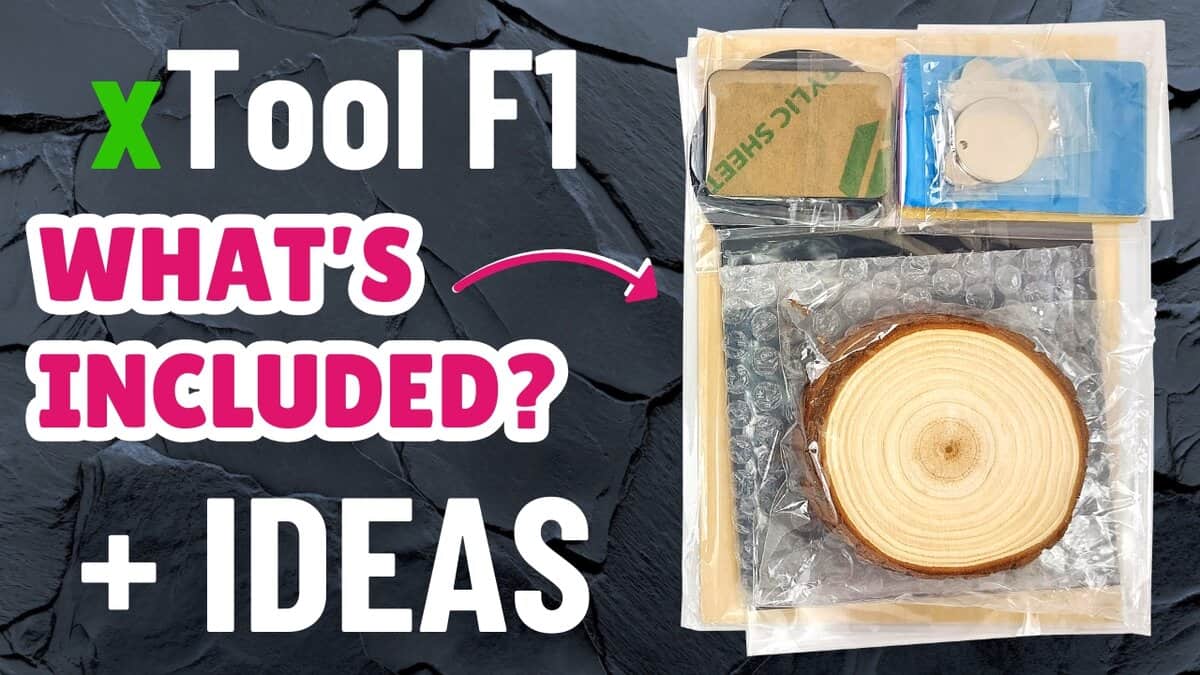
Supplies for this project
Note: Some of the links below may be affiliate links. If you click one and purchase the item, I’ll receive an affiliate commission that will support me in creating more videos and design files (but at no extra cost to you).
- xTool F1 Laser Cutting Machine
- xTool Laser Safety Glasses
- Black Acrylic Apple Barrel Paint
- White Acrylic Apple Barrel Paint
- Mont Marte Acrylic Paint – Brilliant Red, Phthalo Blue, Deep Yellow
- North Shore Acrylic Medium Pearl Paint
- Jacquard Pearl Ex Pigments
- Zinsser Clear Shellac Spray
- Paper Transfer Tape for Masking
Video outline
- Intro
- What you’ll need
- Step 1: Paint background
- Step 2: Apply Shellac
- Step 3: Apply masking
- Step 4: Cut & engrave
- Step 5: Apply Shellac
- Step 6: Apply base paint
- Step 7: Apply coloured paint
- Step 8: Remove masking
- Step 9: Touch up paint (or sand)
- Step 10: Apply Shellac
- Finished project
- Comparison & recommendations
Resources referenced
Other learning resources