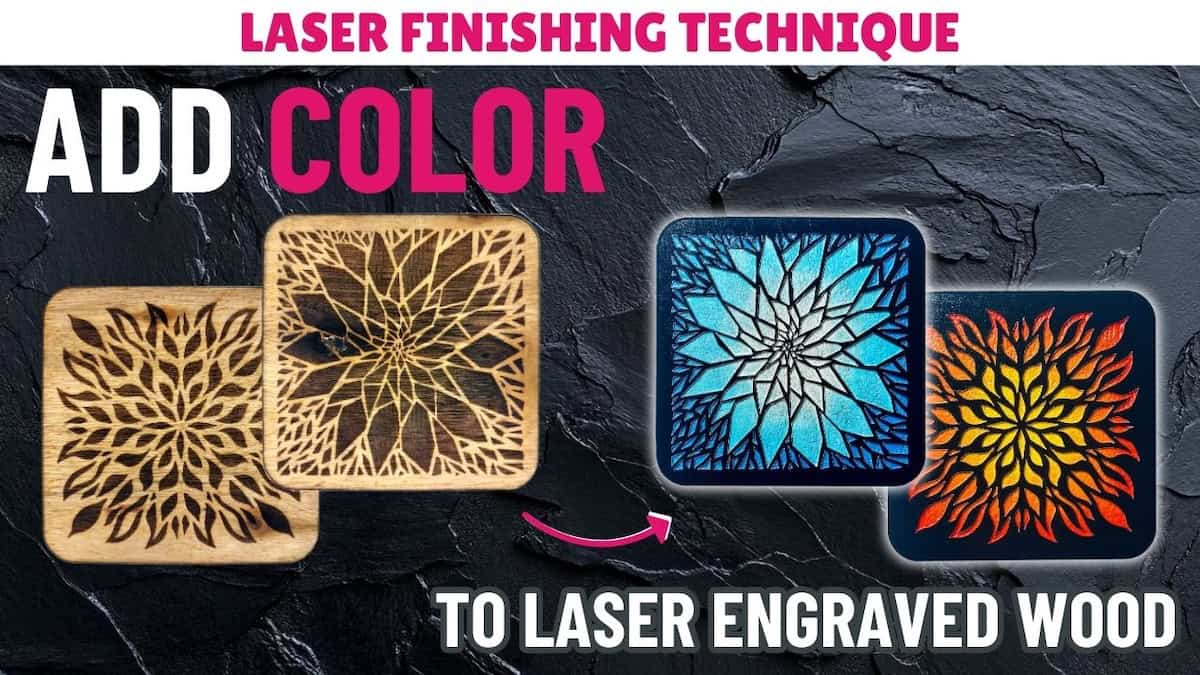
Covered in this video
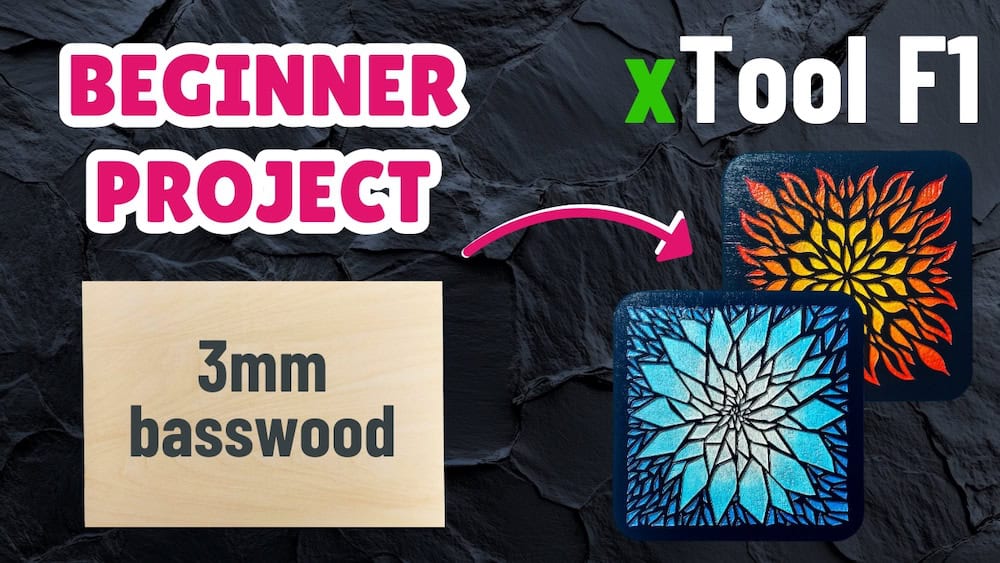
Just starting out with the xTool F1 laser cutting machine? In this beginner-friendly xTool F1 project tutorial, I’m using laser engraving photo paper from the xTool F1 sample kit to make cute animal wall art panels. You’ll learn how to:
- Set up and engrave photos in xTool Creative Space
- Get clean, high-contrast results using the IR laser
- Finish and mount your engraved wall art for display
Files used in this video
Supplies for this project
Note: Some of the links below may be affiliate links. If you click one and purchase the item, I’ll receive an affiliate commission that will support me in creating more videos and design files (but at no extra cost to you).
- xTool F1 Laser Cutting Machine
- xTool Laser Safety Glasses
- xTool Laser Engraving Photo Paper
- Varathane Water-Based Diamond Wood Finish Spray – Gloss
- 3M 467MP Adhesive Transfer Tape – 6″ x 5 yards
Video outline
- Intro
- Things you’ll need
- Step 1: Prepare engrave files in XCS
- Step 2: Engrave photo paper
- Step 3: Add finish (optional)
- Step 4: Prepare for mounting
- Step 5: Mount photos
- Finished wall art
Resources referenced
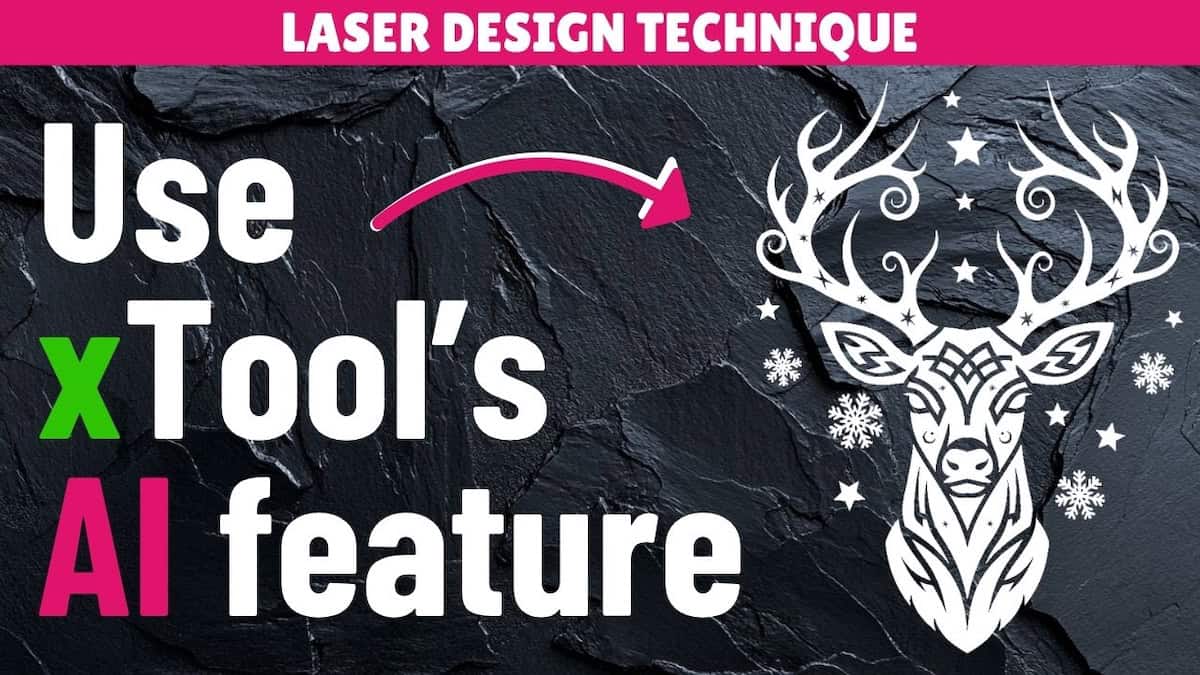
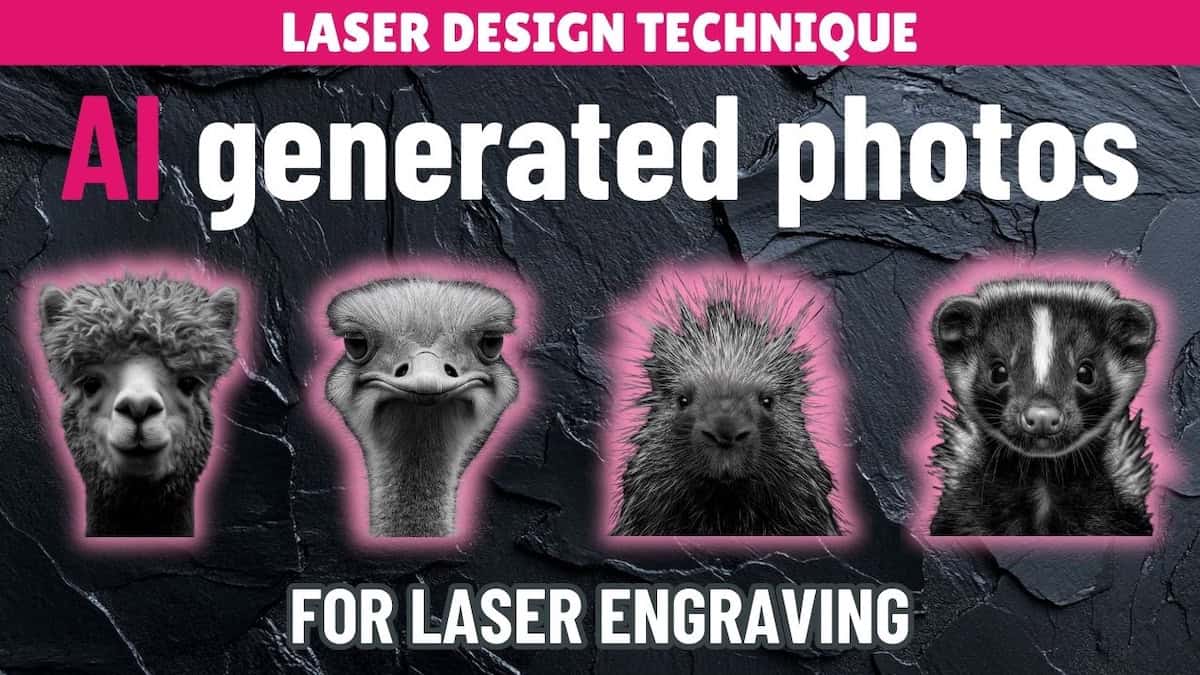
- Video tutorial on how to use AI to generate and prepare photos for laser engraving
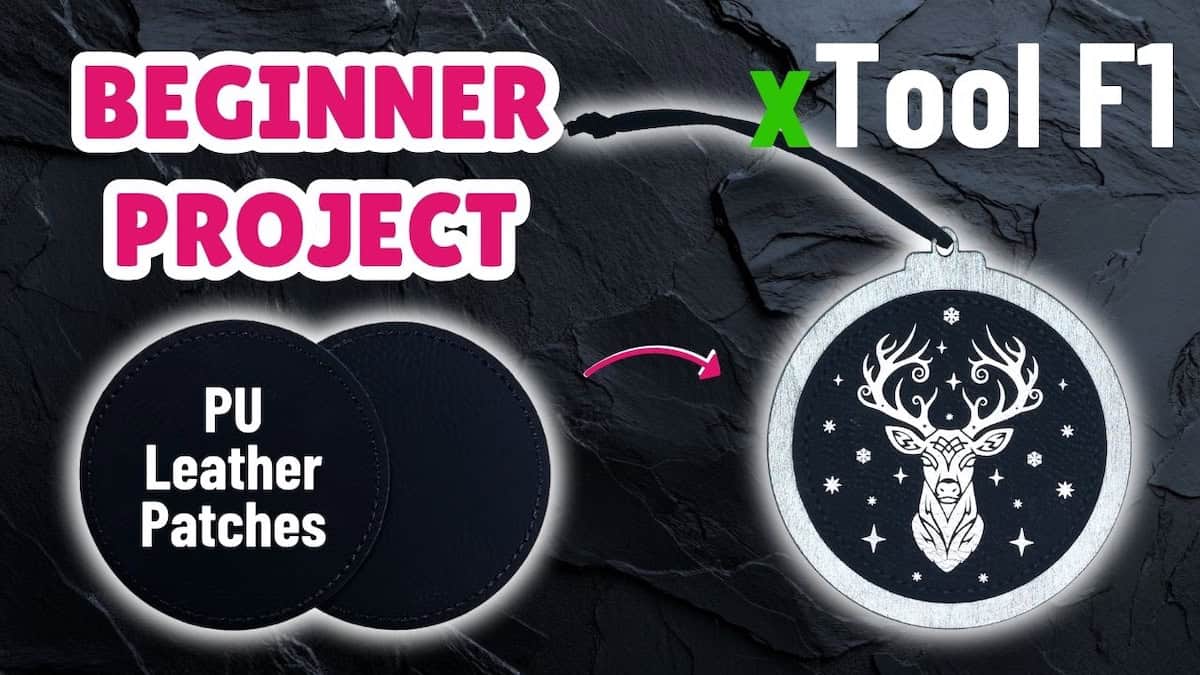
- Video tutorial for the next sample material – PU leather patches
- Video on unpacking xTool F1 sample pack
- YouTube playlist: xTool F1 sample material projects
Other learning resources