Covered in this video
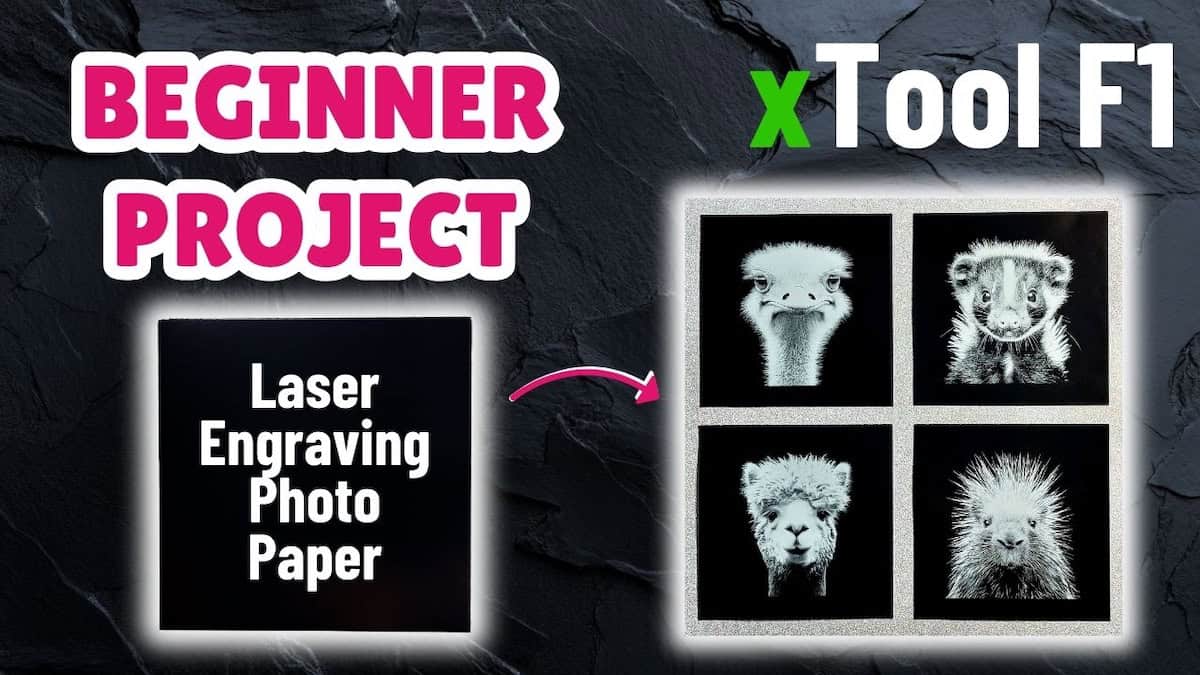
If you’re just starting out with the xTool F1 laser cutting machine, give this quick, beginner-friendly tutorial a try! I show you how to make festive laser-engraved Christmas ornaments using the PU leather patches that came with the xTool F1. I’ll walk you through how to:
- Import the free design file into xTool Studio and find your engrave settings
- Engrave the patch and cut out the wood backing piece
- Assemble and finish the pieces into sleek, festive Christmas ornaments
Files used in this video
Supplies for this project
Note: Some of the links below may be affiliate links. If you click one and purchase the item, I’ll receive an affiliate commission that will support me in creating more videos and design files (but at no extra cost to you).
- xTool F1 Laser Cutting Machine
- xTool Laser Safety Glasses
- Black Faux Leather Suede Cord
- Round Metal Paint Tray
- Unfinished Poplar Wood Squares, 4×4 inch
- Laserable PU Round Patch
- North Shore Acrylic Medium Pearl Paint
Video outline
- Intro
- Things you’ll need
- Step 1: Import file and set up engrave
- Step 2: Engrave leather patch
- Step 3: Cut the wood backing
- Step 4: Cut leather backing (bonus)
- Step 5: Paint the wood backing
- Step 6: Mounting and stringing the ornament
- The finished ornament
Resources referenced
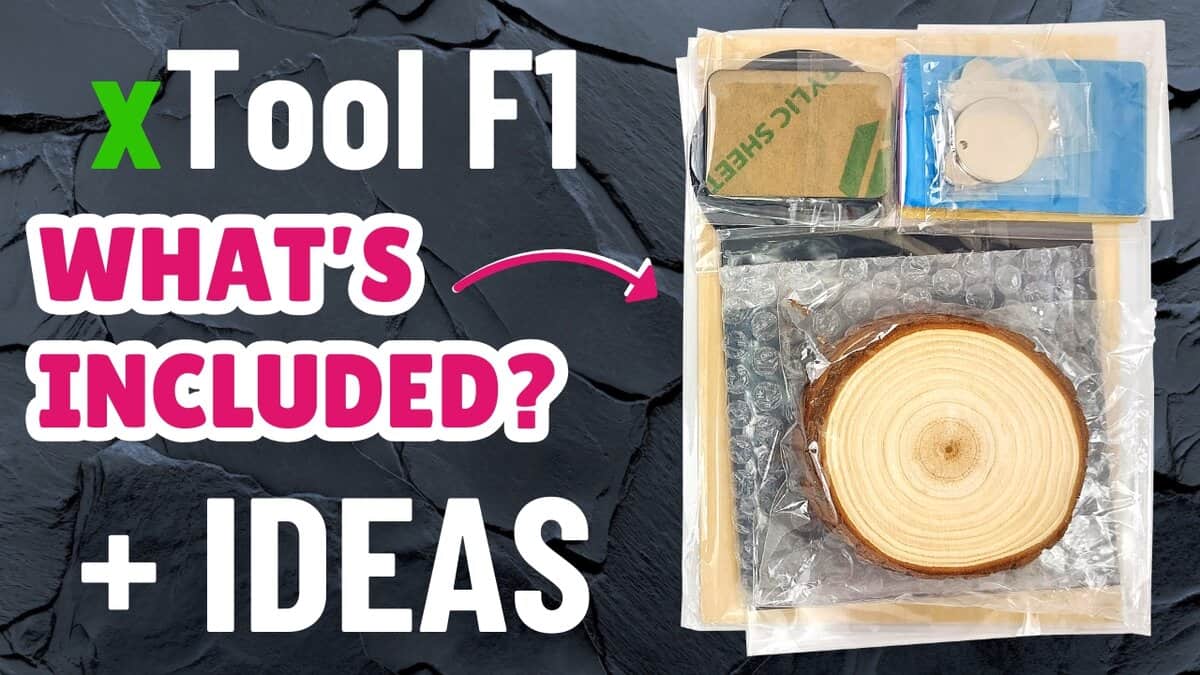
- Video on unpacking xTool F1 sample pack
- Leather finishing process for the leather ornament backing
- YouTube playlist: xTool F1 sample material projects
Other learning resources